


Blog – Make-up for mature skin
Make up for mature skin
Beauty knows no age. You can be the most beautiful version of yourself at any age or stage in your life! Are you 45+ but have you been doing your makeup the same way for years? Then your makeup routine needs an update!
As we age, our skin changes. It contains less collagen and elastin (hello, wrinkles!), making it saggy. You can also experience age spots and dryness. Because cell renewal slows, your skin can look dull and sallow. Furthermore, fine hairs appear, and you experience hot flashes. Which makeup products are suitable for mature skin? And how do you apply makeup to mature skin to make it look younger? Read on!
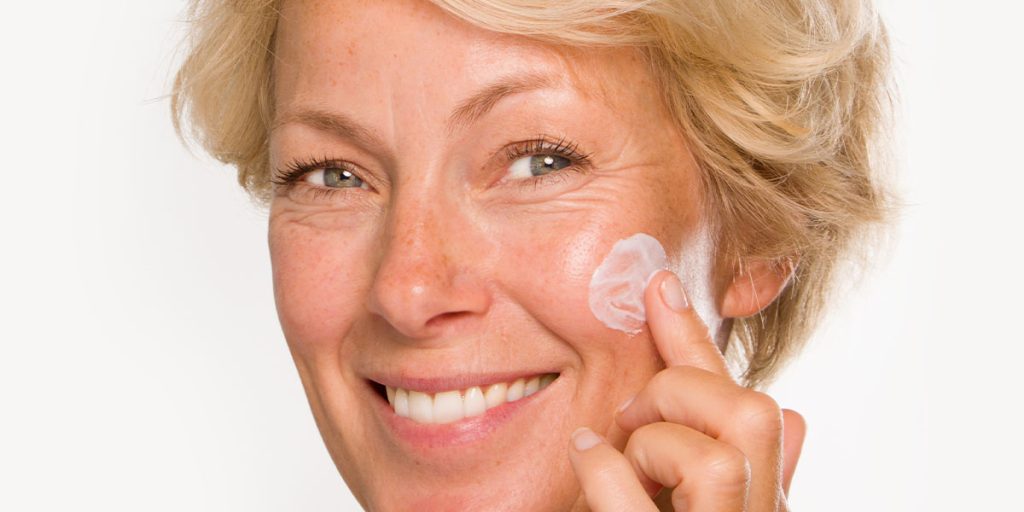
Step 1: Good preparation is half the job
Beautiful and fresh makeup starts with a good canvas, regardless of your age. Keeping your skin in top condition makes applying makeup much easier and more beautiful. Therefore, cleanse and care for your skin every day, both morning and night. A gentle cleansing emulsion ( Intensive Facial Cleanser ) removes makeup as well as external dirt. Cleansed skin absorbs the active ingredients in your cream better. So, it's a waste of cream if you apply it without cleansing your face first. Moreover, your skin ages faster if you don't remove makeup and dirt daily.Our best day cream for older skin
The best cream for aging skin is one with powerful ingredients that firm, balance, and hydrate the skin. Multi Dynamic This day and night cream contains a powerful formula of peptides, hyaluronic acid, vitamins, biotin, algae extract, and calendula. Together, they promote the production of collagen and elastin: exactly what mature skin needs. So you don't need to use a serum first or buy a separate cream for morning or evening. Everything is in one bottle!
This multifunctional day cream for older skin is also a good base for your make-up.
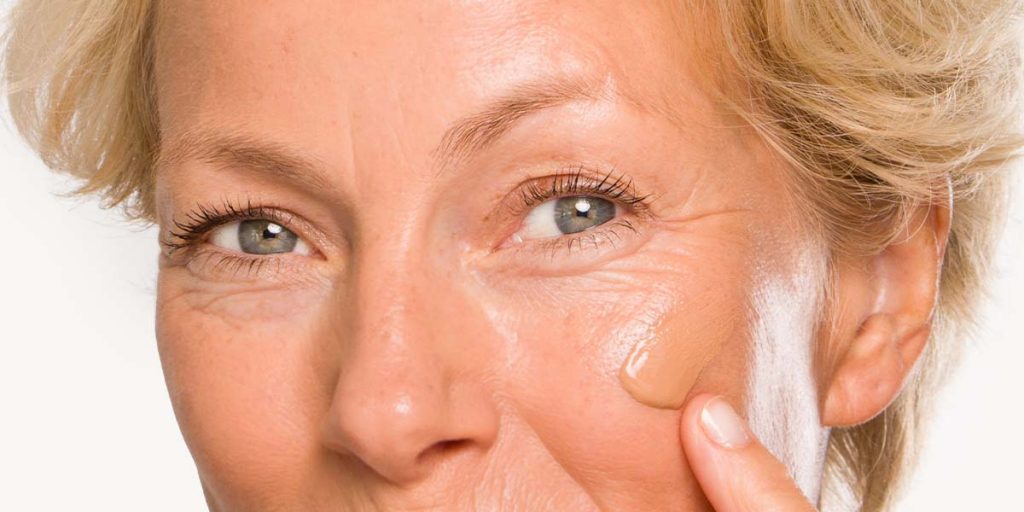
Step 2: Applying foundation to older skin
Want a beautiful, even complexion? The best foundation for older skin is a liquid product that hydrates and provides light to medium coverage, like ours. Natural Perfection 2-in-1 Foundation & Concealer. Using your fingers, the foundation blends beautifully with your mature skin, creating a natural-looking effect. Or use a foundation makeup brush, like ours. Foundation Brush . This makes it incredibly easy to blend your foundation flawlessly. You can apply foundation all over your face or just to the areas you want to even out. But remember: use as little as possible!
Step 3: Concealer for dark circles and blemishes
Once you've applied your foundation, take a good look at yourself in the mirror and determine where you need some extra concealment. This could be a little under your eyes for dark circles, on pigment spots, or redness. It's best to use a Liquid concealer ; a stick concealer often contains a lot of powder and can quickly look dry and cakey on your skin. Choose a slightly lighter shade than your skin tone. This will give a fresh look under your eyes and a natural finish on blemishes.
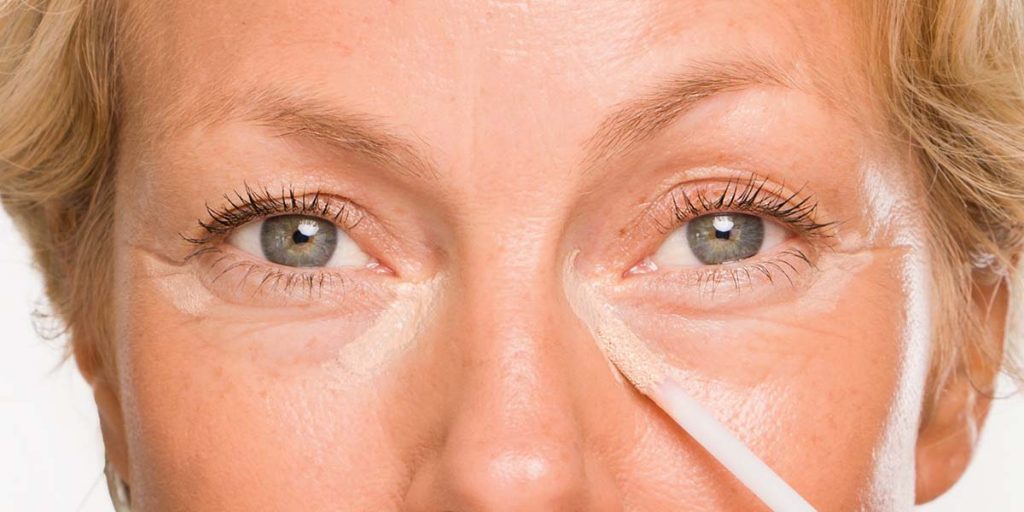
For beautiful camouflage, use a small amount of product. Start under your eyes and in the corners of your eyes. Apply the concealer where you see dark circles or shadows and then blend it in by dabbing with your finger or the Blending Brush . Tip: Dab any remaining product on your finger onto your eyelids. This makes a great base for your eye makeup!
Step 4: Mattifying powder
Do you suffer from hot flashes, does your skin tend to shine, or are there certain areas of your face that are a bit oily? Then a little bit of Silky Powder or Setting Powder To set everything and prevent your foundation or concealer from settling into fine lines or smudging. It also minimizes the appearance of pores, wrinkles, and blemishes. Your skin instantly looks naturally even. When applying face powder, use a large makeup brush ( powder brush ) and avoid a sponge or powder puff: they often apply too much and accentuate any fine hairs.
Less is better!
Older skin is often drier than younger skin and has more downy hair. Too much makeup or a thick layer of powder can create a very unnatural effect. So, avoid applying too much foundation, concealer, and powder, and opt for liquid products whenever possible.
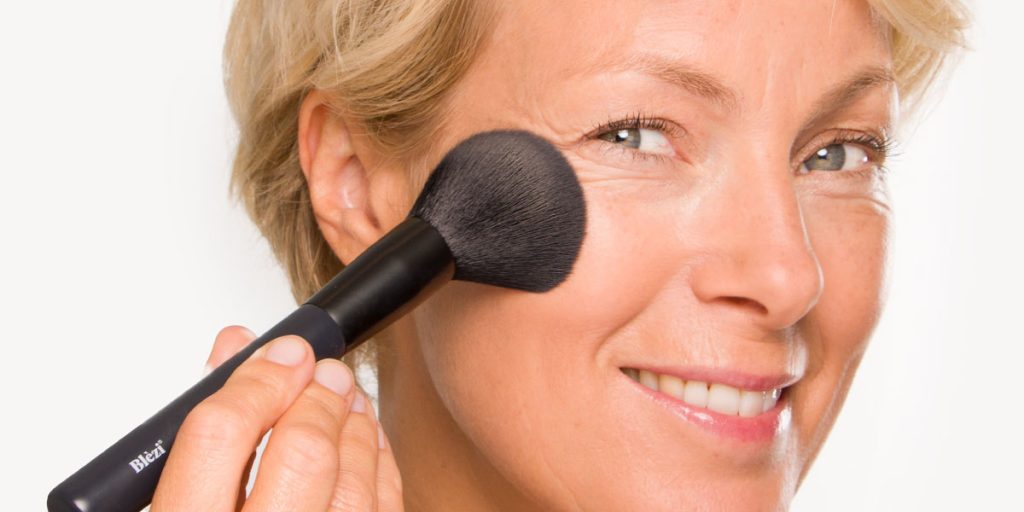
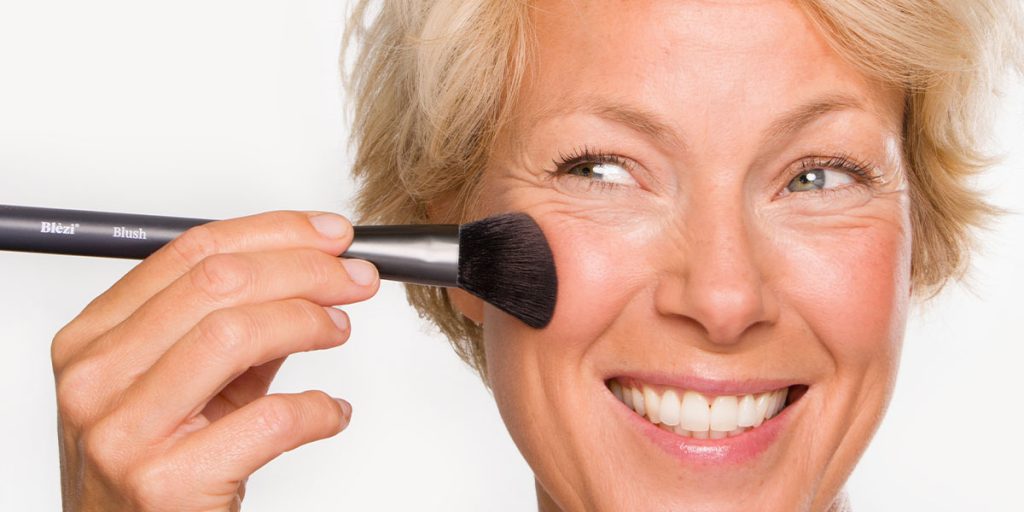
Step 5: From dull complexion to fresh cheeks
If your skin looks pale or dull, you could use some color! With Blush Easily and quickly achieve a fresh, youthful look. Choose a pink or peachy shade with little to no shimmer. This gives the most natural effect and won't accentuate lines or wrinkles.
Where and how do you apply blush?A handy trick is to smile at yourself in the mirror. Then you will see the curves of your cheeks, also known as 'apples'. This is precisely where you place your blusher brush Apply your blush. Blend the color towards the top of your ears. Build up the color gradually by adding a little product at a time instead of applying too much at once.
Step 6: Eyeliner for mature skin: yes or no?
A black cat eye looks great when you're younger. But lining both the top and bottom lines makes your eyes appear smaller and emphasizes dark circles. You don't want that! However, as you get older, you can also add definition to your eyes with eyeliner or pencil. The trick is to do it subtly.
Apply a pencil line on and between your upper lash line. Choose natural shades like brown or gray. Avoid black, as it can quickly create a harsh look and make you look older. Choose a creamy formula that's easy to apply, smudge-proof, and waterproof. Blèzi eye pencil has a handy 'twist-up' system so you never have to sharpen again.
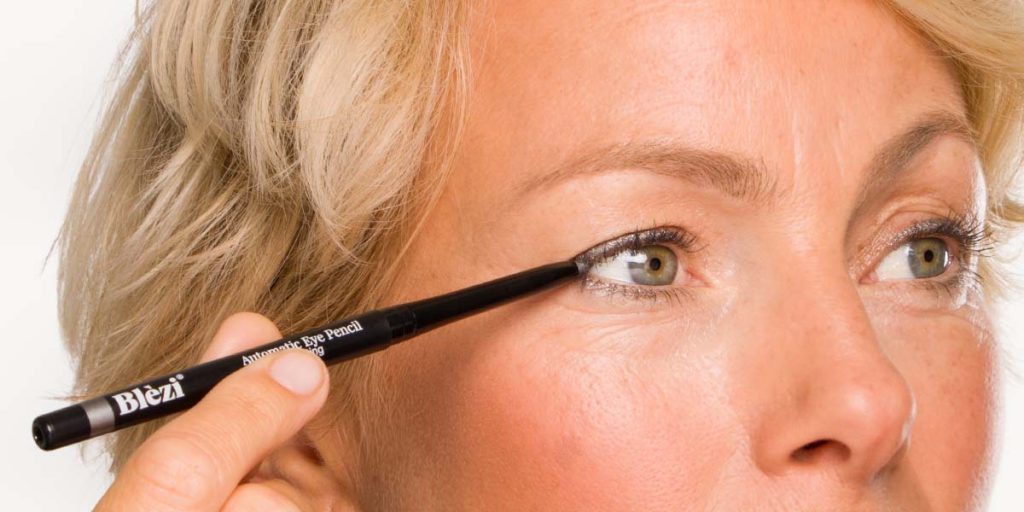
Creating the perfect line isn't difficult: apply the pencil in small strokes from the outer corner of your eye to the inner corner, widening the line slightly on the outer edge. This will give your eyes a subtle lift. Be sure to apply the pencil between your lashes as well. This will give you a powerful look. You can blend the line with your fingers for a soft, professional look. The formula will dry in about a minute, after which it will be smudge-proof.
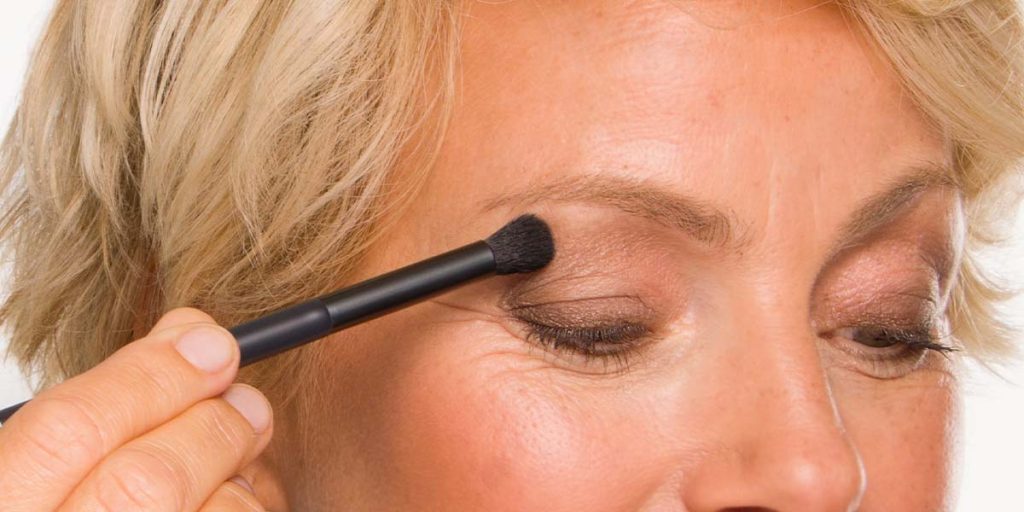
Step 7: eye shadow for mature skin
In terms of colors, it's best to go for natural shades without too much shine or glitter. Apply with your fingers or a Eyeshadow brush . Apply the color to your mobile eyelid, but don't go too far up towards your eyebrows. To give your eyes more depth, apply a darker color to the outer corners of your eyes, blending it out into your brow bone. The golden rule: blend, blend, blend. Harsh lines create a harsh look, so make sure you blend the eyeshadow well and let it blend. This is easy with our Blending Brush . Finally, apply a highlight to the corners of the eyes. Beautiful with a champagne eyeshadow color like Eyeshadow Magic Gold or with the Highlighter .
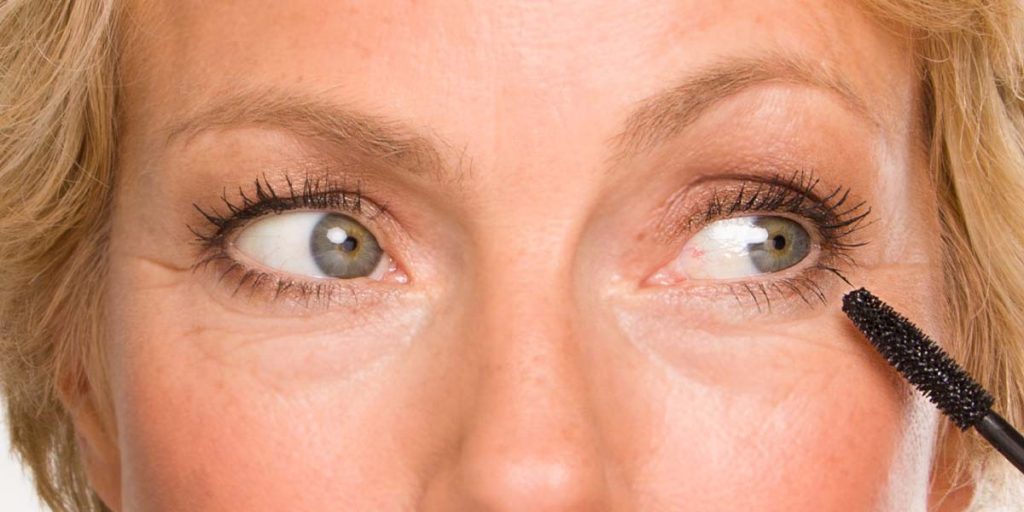
Step 8: Mascara, a must at any age!
To complete your eye makeup, apply mascara For beautiful, full lashes and an open look. If you naturally have very straight lashes, you can use an eyelash curler first. Make sure you place the mascara wand as close to the base of your lashes as possible and run the wand through your lashes in a zigzag motion towards the tips. This will optimally coat your lashes and keep them nicely separated. Don't forget the hairs on the outer corner of your eye. If you have short lashes or are difficult to reach, use the tip of the mascara wand.
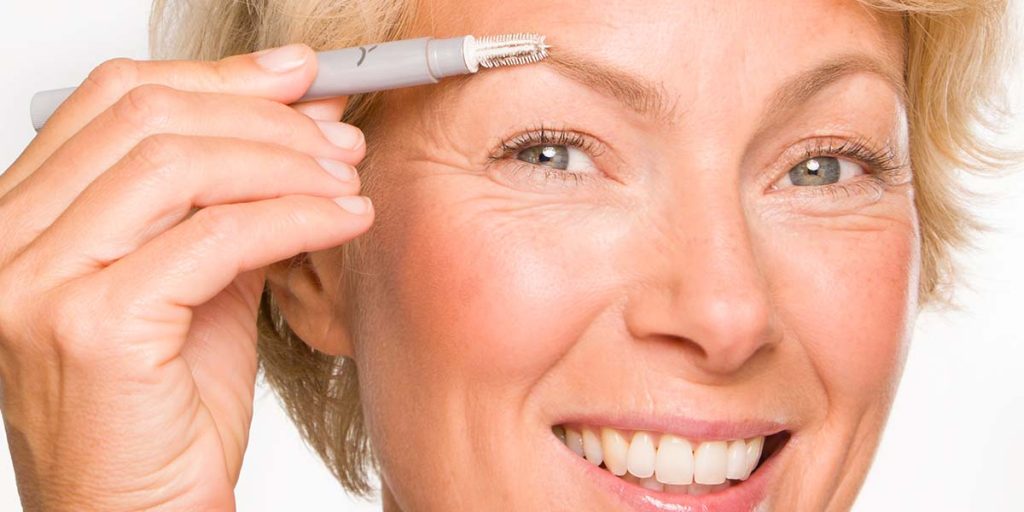
Step 9: Lift eyebrows with makeup
Eyebrows make your face stand out. To give your eyebrows a lift, first comb the hairs upward. You can fill in the gaps that become visible with a pencil ( Automatic Eye Pencil 50 Cocoa Brown ) or eyebrow powder ( Eyeshadow 65). or 95 ) fill in and draw a little bit.
If you are blessed with beautiful, full eyebrows, then only use a colored eyebrow gel to shape them nicely and give them a little bit of color. Blèzi Brow Colour 'n Fix is a waterproof and colored eyebrow gel that is smudge-proof and stays put all day.
Then apply a light concealer or highlighter directly under your eyebrow arch. This makeup technique creates lifted eyebrows and an open look.
Step 10: Finally, non-bleed lipstick
As you age, fine lines develop around your mouth. Your lips also become thinner. Lipstick that runs into the wrinkles on your upper lip: almost all women experience this problem sooner or later. Do you prefer a creamy lipstick? Then line your lips first with a lip liner. This will prevent your lipstick from bleeding. Place the line right on your natural lip line (the edge of your lips) or just outside it. If you then fill in your lips with lipstick, they will appear fuller.

Would you prefer a lipstick that stays on longer and doesn't transfer or settle into the lines around your mouth? Then go for a long-lasting lipstick like Blèzi Lip Fix . Because the formula is smudge-proof and wrinkle-resistant, you don't need a lip liner. Blèzi Lip Fix It's easy to apply, waterproof, and long-lasting. It won't rub off on your glasses, clothes, or when you kiss or hug someone. Very dark colors make your lips look thinner and older. So choose soft, fresh shades two shades darker than your natural lip color, and you'll be fine. Are your teeth a bit more yellow? Lipstick with a blue or purple undertone will instantly make them look whiter!
Do you have any questions after reading this blog or would you like to receive a personal advice ? Then please take a moment contact Contact us, we're happy to help!